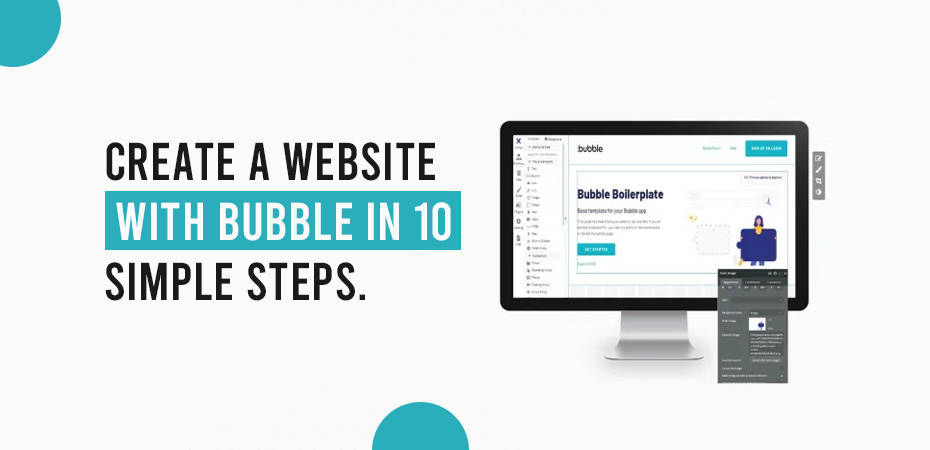
Create a Website with Bubble in 10 Simple Steps
Introduction
Earlier, building a website was a complex task that required strong coding skills and technical expertise. Developers had to write long lines of code, troubleshoot errors, and manage multiple tools just to create a functional site. However, with no-code platforms like Bubble.io, this process has become much simpler. Now, anyone can build a professional, fully functional website without writing a single line of code.
Whether developing a personal blog, an eCommerce site, or a business platform, Bubble.io offers the necessary tools for design, customization, and deployment. It provides a drag-and-drop interface, built-in hosting, and database management, simplifying the website creation process.
This guide outlines ten structured steps to build a website from scratch using Bubble.io. By following these steps, users can develop a professional and fully functional website. For advanced customization and optimization, seeking assistance from a Bubble developer may be beneficial.
Why Choose Bubble for Your Website?
Before proceeding with the steps, it is important to understand why Bubble.io is a suitable choice for web development. Unlike traditional website builders, Bubble.io is a no-code platform that enables the creation of dynamic and interactive web applications without requiring programming expertise.
Key Benefits of Using Bubble:
- No Coding Required – Ideal for beginners with no technical background.
- Drag-and-Drop Interface – Build your website visually without writing code.
- Custom Workflows – Automate actions like sign-ups, email notifications, and payments.
- Integrated Database – Store and manage user data directly within Bubble.
- Built-in Hosting – No need to purchase separate hosting; Bubble takes care of it.
- Scalability – Easily upgrade features as your website grows.
If you need a more tailored experience, you can always consult a Bubble developing agency to help you create a professional and high-performing website.
Step 1: Sign Up and Create a New Project
The first step in building your website with Bubble is creating an account and setting up a new project.
- Visit Bubble.io and sign up for a free account.
- Click on “Create a New App” and give your project a name.
- Choose a template for a quick start or start from scratch for a fully customized design.
Once you’ve set up your project, you’ll be directed to Bubble’s editor, where you can begin designing your website. This interface allows you to drag and drop elements, structure web pages, and configure workflows effortlessly.
Step 2: Plan Your Website Structure
Before you start designing, it’s crucial to plan your website structure. A well-organized site ensures that users navigate easily and have a smooth experience.
Key Elements to Plan:
- Homepage Layout – What sections should be on your main page?
- Pages Needed – Common pages include About, Services, Contact, and Blog.
- User Actions – Should visitors be able to sign up, leave comments, or purchase products?
Allocate time to outline the website’s layout and key pages. This planning phase enhances efficiency and contributes to the development of a user-friendly website.
Step 3: Set Up Your Database
Every website requires data management, whether it’s user accounts, product listings, or blog posts. Bubble provides an integrated database that makes this easy.
How to Set Up Your Database in Bubble:
- Open the Data tab in the Bubble editor.
- Click on Create a New Type (e.g., Users, Products, Posts).
- Add fields such as Name, Email, Price, and Description.
By setting up a structured database, your website will be organized and efficient. If you need help creating complex databases, consider working with Bubble.io developers for a seamless experience.
Step 4: Design Your Website with the Drag-and-Drop Editor
Now that your database is ready, it’s time to design your website visually. Bubble’s editor allows you to place elements on the page using a simple drag-and-drop interface.
Important Elements to Include:
- Navigation Menu – Helps users find pages easily.
- Hero Section – A large banner with a headline and call-to-action button.
- Images and Icons – Make your site visually appealing.
- Buttons – Direct users to sign-up forms, purchase pages, or other sections.
Keep the web design simple, clean, and user-friendly. Test different layouts to see what works best for your target audience.
Step 5: Set Up Workflows for Interactive Features
Workflows in Bubble allow you to add dynamic interactions to your website. These are the actions triggered when users click a button, submit a form, or log in.
Common Workflows You Can Create:
- Sign-Up and Login System – Allow users to register and access accounts.
- Form Submissions – Collect user data such as inquiries or feedback.
- Payment Processing – Integrate Stripe or PayPal for eCommerce websites.
To add a workflow:
- Click on an element (e.g., a button).
- Go to the Workflow tab and select an action (e.g., Navigate to another page).
- Customize the action with conditions and database connections.
If setting up workflows feels complex, a Bubble developing agency can help fine-tune these features for you.
Step 6: Configure Your Website’s Responsiveness
A well-designed website maintains visual appeal and functionality across all devices, including computers, tablets, and smartphones. Bubble.io provides tools to adjust the layout and ensure mobile responsiveness.
Tips to Make Your Website Responsive:
- Use flexible page widths instead of fixed sizes.
- Arrange elements with Bubble’s responsive settings.
- Test your site on different screen sizes before launching.
A responsive website improves user experience and Search Engine Optimization (SEO) rankings, making it an essential step.
Step 7: Add Plugins for Extra Features
Bubble has an extensive plugin library that lets you enhance your website’s functionality.
Popular Plugins You Can Use:
- Google Maps – Add maps for store locations.
- Stripe/PayPal – Enable secure payments.
- Chat Widgets – Provide customer support directly on your site.
Plugins allow you to add complex features without coding. Simply go to the Plugin Marketplace, find the tool you need, and install it in your project.
Step 8: Test Your Website Thoroughly
Before launching, it’s crucial to test everything to ensure smooth performance.
Things to Check:
- Navigation – Are all links working correctly?
- Forms and Buttons – Are they submitting data properly?
- Mobile Responsiveness – Does the layout adjust on different devices?
Testing helps you identify and fix issues before your visitors see them.
Step 9: Publish Your Website
Once you’re satisfied with the design and functionality, it’s time to launch your site.
- Go to Bubble’s Deployment settings. Access the settings panel in Bubble.io to manage the website’s deployment process.
- Click “Deploy to Live” to make the site accessible to the public. This step transitions the website from the development stage to the live environment, making it available to users.
- Purchase a custom domain to establish a professional presence. A unique domain enhances credibility and reinforces brand identity.
Bubble provides free hosting, but using a custom domain is highly recommended for branding and professionalism. You can purchase a domain through third-party services like GoDaddy or Namecheap and connect it to Bubble.io easily.
After publishing, test your website to ensure all features work correctly. Now, your site is live and ready for visitors!
Step 10: Maintain and Update Your Website
A website isn’t something you build and forget—it requires regular updates to stay functional and engaging.
How to Keep Your Site Updated:
- Add new content regularly (e.g., blog posts, products, announcements).
- Optimize for better performance and loading speed.
- Fix any bugs and improve user experience based on feedback.
If you need professional help for long-term website management, you can always hire a Bubble developer to maintain and scale your project.
Common Challenges and How to Overcome Them
While Bubble.io makes website development easier, users may still face some challenges, especially when building complex applications. Here are a few common issues and ways to solve them:
1. Performance Optimization for a Smoother Experience
As your website grows, it may start running slower due to increased data and complex workflows. To maintain speed and efficiency:
- Keep your database well-structured and remove unnecessary data.
- Optimize images and reduce file sizes to improve loading times.
- Avoid too many workflows running at once, as they can slow down performance.
2. Ensuring Security and Data Protection
Security is a crucial aspect of any website. While Bubble.io offers built-in security features, you should:
- Use privacy rules to control access to sensitive data.
- Implement secure authentication methods like two-factor authentication.
- Regularly update and monitor your website for vulnerabilities.
3. When to Seek Professional Help from a Bubble Developing Agency
Although Bubble.io is beginner-friendly, some projects may require expert guidance, especially for:
- Advanced integrations and API connections.
- Custom design and unique features beyond standard templates.
- Scaling your website to handle high traffic and complex workflows.
If you ever need assistance, hiring a Bubble developer can save time and ensure a professional outcome. An experienced Bubble developing agency can help you build a high-performing, scalable, and secure website tailored to your needs.
Conclusion
Building a website with Bubble.io is a straightforward and efficient process. Whether developing a business website, portfolio, or eCommerce platform, Bubble.io provides the necessary tools to create a fully functional site without coding. Its no-code interface allows users to design, customize, and launch websites with ease.
Additionally, the platform supports dynamic functionalities, database management, and responsive design. For those requiring advanced customization, complex integrations, or professional guidance, experienced Bubble.io developers can assist in optimizing the website’s performance and functionality.
With the right approach, Bubble.io enables users to develop professional and scalable websites tailored to their specific needs.
Frequently Asked Questions (FAQs)
Yes! Bubble is designed for non-coders, making it ideal for beginners.
Absolutely! You can create a complete website with interactive features.
Bubble has a free plan, but for custom domains and extra features, you’ll need a paid plan.
If you need expert assistance, consider working with a Bubble developing agency for a professional touch.